Winnie the Pooh


Pooh was crocheted from the Pooh Collection leaflet. The instructions kept saying to stuff firmly. I think I may have overstuffed him. I could barely get his shirt on for one thing. He came out pretty good though.

You start this pattern by making the arms and legs separately and stuffing them. Then as you’re working around the body you attach the stuffed arms and legs. So then you’ve got a leg butting you in the stomach while you’re trying to work. Once you get up to the neck you have to stuff the body too. You should have seen me with a decapitated Winnie the Pooh sitting in my lap trying to crochet around him. It was both funny and awkward. I did the last rows of the head with Pooh sitting on a table in front of me.

As I was working on it I kept wondering who comes up with these things. Sc in next 10, two sc in next sc, sc in next 12, two sc in next sc, sc in next two sc, two sc in next sc, sc in next 18 sc, etc. There seemed to be no pattern to it but somehow a Pooh emerges that seems to bulge in all the right places.

Cape/Shawl for Rosemary


This is a Christmas present for my step-mother, Rosemary. It was crocheted from Moda Dea Dream in the Pecan color from the Quick & Easy Ponchos leaflet. It’s the second photo on that page. Their model was made with Moda Dea Zing but I thought the Dream yarn would suit my step-mother better. The pattern calls for sport weight yarn but Moda Dea Dream is worsted weight and my gauge came out fine.

This is a simple, forgiving pattern. The yarn is a pleasure to work with because it’s so soft and with such a simple pattern, where you only work into spaces, not stitches, I didn’t have a problem with its overall fuziness. It doesn’t frog very well, of course, but luckily I didn’t need to do much of that. The only thing I didn’t like about this yarn was how often I had to change skeins because each skein is so small. This open work poncho took seven skeins.


Here’s a close-up of the yarn and pattern.

1903 Grand Ball Gown – done!

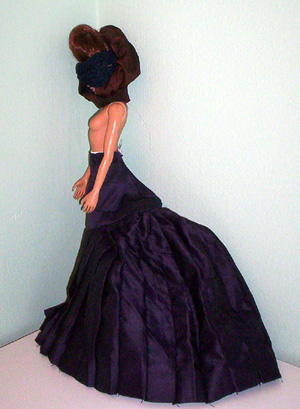
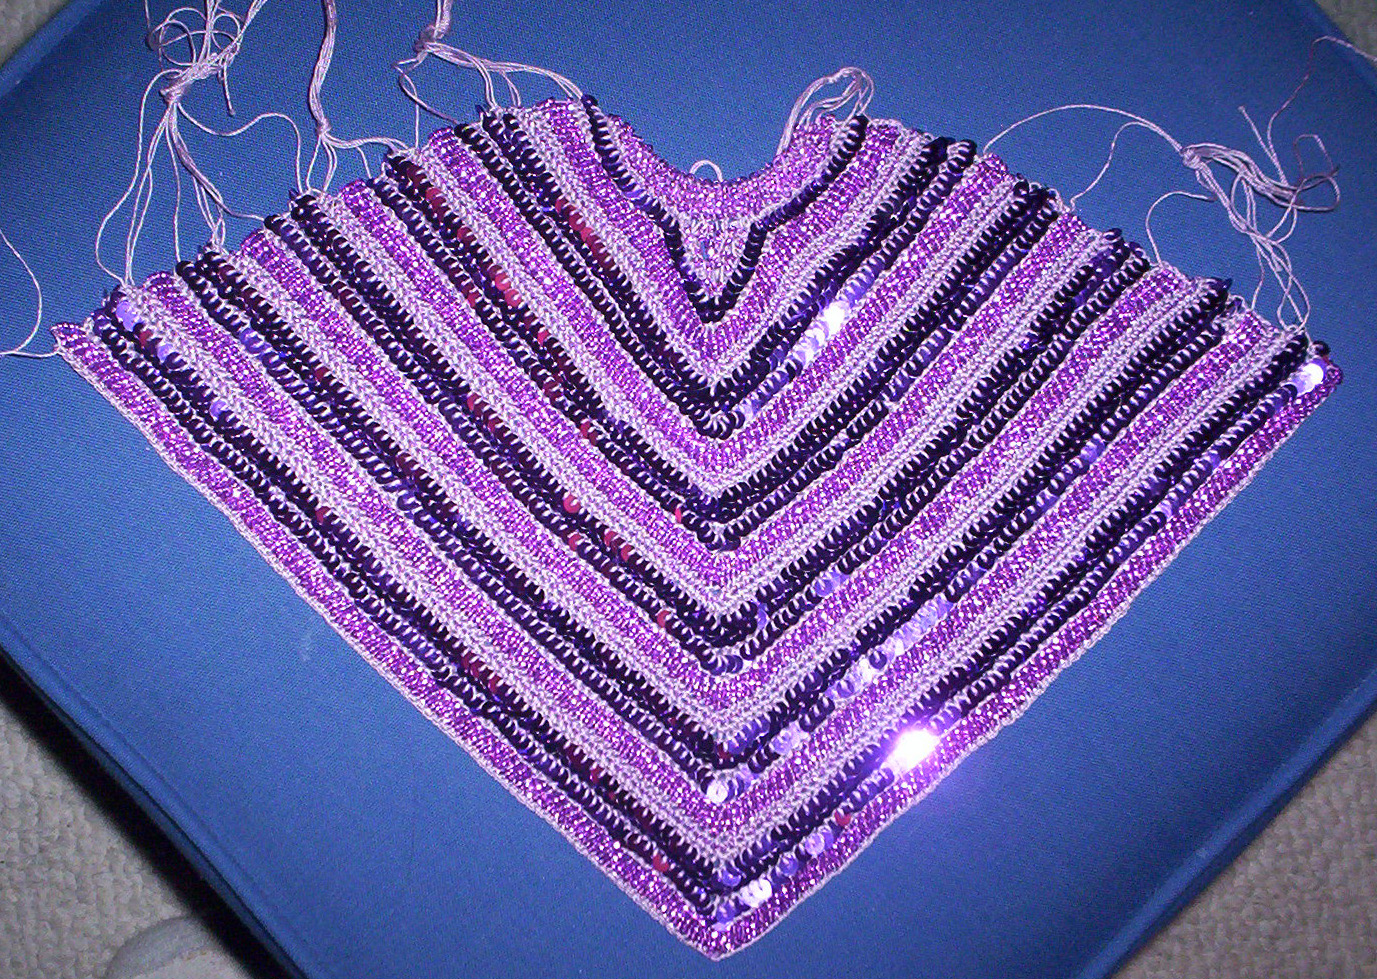
This was made from the 1903 Grand Ball Gown kit from Paradise Dolls.


(click on the picture for a full sized photo)

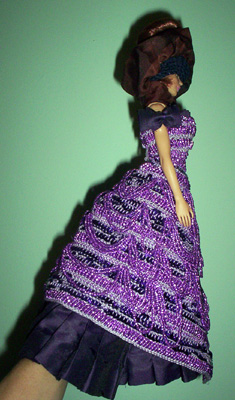
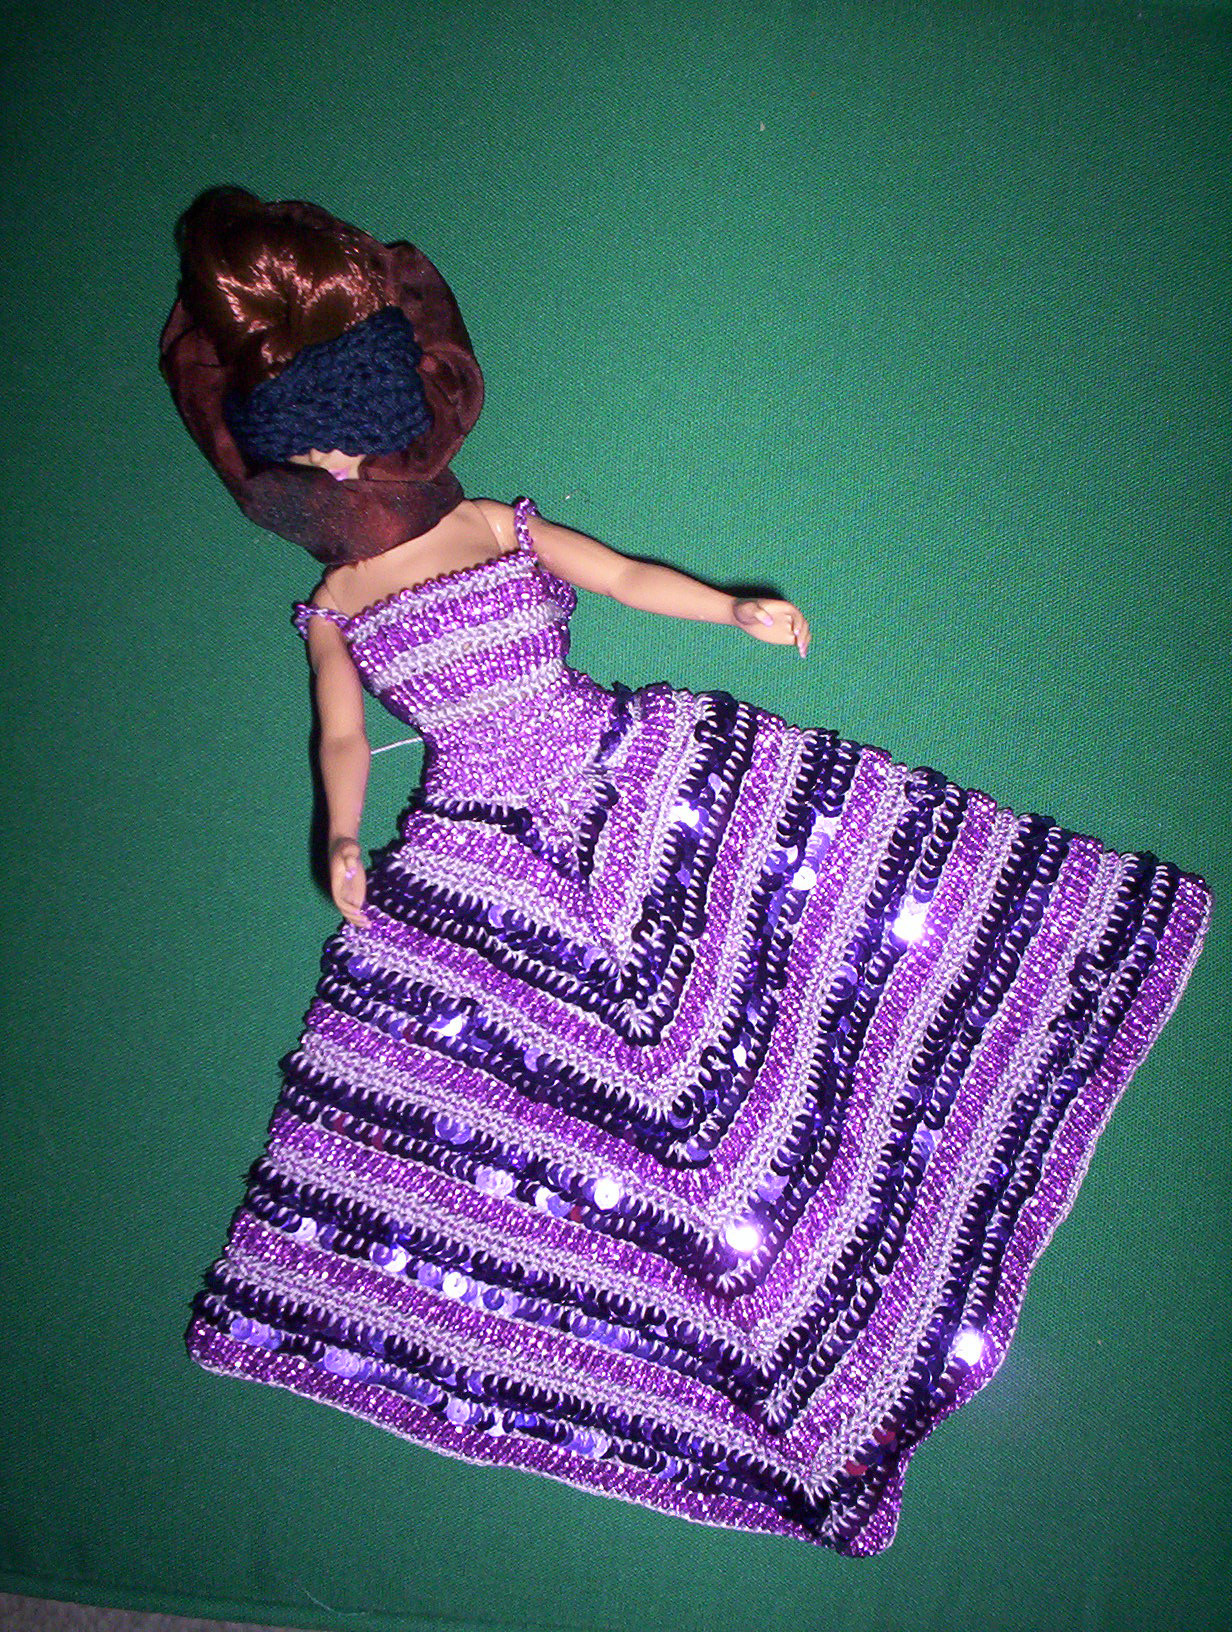
The hair was a nightmare, as I knew it would be. In the end I covered up the mess with a lot of feathers.


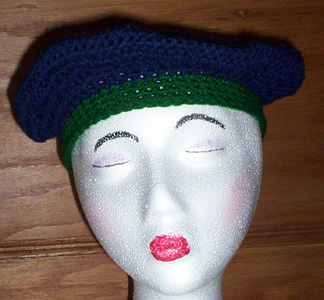
Here she is from the front. Her best view is really from the side, so that’s how I have her posed on my shelf.


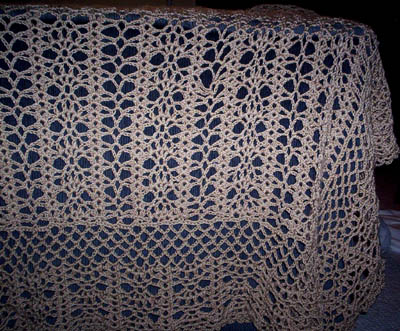
There were supposed to be three bows down her back but I ran out of ribbon. This is the best view of the underskirt which took a lot of effort to make but which doesn’t show all that much.

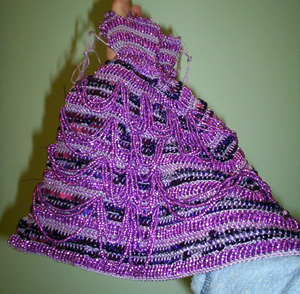
I’m so thrilled to have this done because I’ve always wanted to make one of these dresses and I’m pretty happy with the way it turned out. It’s not perfect but I think it’s beautiful.

Tips for working with beads and sequins

Crocheting with beads and sequins isn’t hard once you got the hang of it. The hardest part about working with beads is that they’ll take any opportunity to escape. You can’t just put your thread down or you’ll come back to find beads all over the floor. Believe me, I learned that lesson a few times. The kit included pre-strung beads which is supposed to make getting them onto your thread easier. It does, but it also allows you to spill hundreds of beads onto the floor at one time when the knot joining the string to your thread comes loose.

Sequins have the opposite problem. They don’t like to be separated. My fingers would go numb from trying to get just one sequin into position for the next stitch. The sequins in the kit came covered in a white powder. It felt nasty, like chalk or resin, and it hid their sparkling beauty. So I washed it off the first set. Mistake. I learned that the white powder was there to help keep the sequins from sticking to each other so tenaciously. Even with the powder, they stick, but without the powder, just try to pry one away from the pack. Fingernails come in handy here.

Another thing that came in handy was a small pair of tile cutters. You can use them to cut off the extra sequin that will inevitably end up part of your work no matter how diligently you tried to separate out just one. Of course, you want to be very careful doing that. Don’t cut the thread.

Some of the beads have abnormally small holes and as you’re moving a string onto your thread, one will catch and refuse to move over the knot. Trying to force it will result in the knot breaking and all the beads running off onto the floor. Untying the knot so you can remove the bad bead will result in your putting down one of the threads without thinking and going to pick it back up again only to realize that all of the beads have run off onto the floor. Use the tile cutters to cut that one bead in half so you can remove it from the string without untying.

Extra tension helps control the beads and sequins as you’re working. After stringing on about a mile of beads (a few inches of sequins goes a long way), push most of them way down the thread. Keep a working number of beads or sequins between your work and the hand that guides the thread. To move the next bead or sequin into place, you’ll need tension from something besides your hand. I would run the thread under my foot or between my knee and the sofa arm.

Working with beads and sequins will feel awkward and slow at first. The first row was only 36 stitches and I think it took me an hour. I didn’t think it would be possible to finish this project in my lifetime. By the end of the skirt, the rows were almost 200 stitches long and I was doing them in less time than that first row. So just keep working on it, and remember: Watch those beads!

Cutting table


While not exactly a craft, I did assemble this and it’s certainly part of the craft room. I was looking for a nice cutting table to put in my spare bedroom where I do my crafts and my mother came up with the idea of using kitchen cabinets. It makes a beautiful piece of furniture. I don’t have handles installed yet because I’m nervous about drilling the holes and not getting them lined up. Maybe I’ll skip handles. The best part about this cutting table is how much storage space it adds. My old one had no storage at all. Now I can keep my tools at hand.

Afghan for Lisa


Lisa selected the pattern for this very lacy afghan. It’s made from Caron’s Simply Soft yarn so it’s beautifully soft and light. The funny part about this afghan is that the border is about half the total afghan. When I finished the body of the afghan, I thought I was just about done and was going to have a skein of yarn left over. Instead, I ended up buying two more skeins.


Here’s a closeup of the detail. This was a fairly complicated pattern. I ended up writing a crib sheet to keep near me while I was working so I didn’t have to have the whole book on my lap.

1903 Grand Ball Gown – second update


Here’s Lady Paradise modelling the underskirt. I’m not sure it ended up exactly the right shape. It’s made out of a million strips of ribbon. Kind of crazy. I think a pattern and some fabric might have been a better way to go. Their sewing instructions aren’t that clear and I ran out of ribbon before I got all the bows made. I don’t think I wasted any either but I came up about 20″ short which is a lot of ribbon.


This is my hand modelling the skirt after the beaded loops were sewn on. You’d be amazed at how long this step took. I thought it would be about an hour but it was probably more like four or five. Plus the loops are all tangled together. Once I’ve got the doll fully dressed and on the stand, I’m going to have a lot of sequins to flip and loops to arrange.


Nearly done. You see the bow on her shoulder? Well, there isn’t one on the other shoulder yet. There are also bows that go on the back and more beaded loops for the bodice and sleeves. Then there’s the hair to worry about. I guess I can’t just keep the scrunchy on. It’s starting to seem like crocheting the dress was the easy part.

Crochet hook case


The link to this Crochet hook case pattern was posted on RCTY and since I’ve been in thread and sequin hell for weeks now, working on my doll dress, I decided to make this for my November 6 x 6 partner. It worked up really quickly but I ran out of yarn at the very end and had to sew the top together instead of finishing the border shown in the pattern.

1903 Grand Ball Gown – in progress

1903 Grand Ball Gown from Paradise Dolls.

I got this kit and immediately created a disaster by turning the skein of purple rayon thread into a hopelessly tangled mass which I then attacked with a pair of scissors in a temper fit, resulting in little pieces of purple rayon thread all over the living room floor.

When I regained my composure, I went down to AC Moore to see if I could find a matching crochet thread, since I didn’t want to throw out my $75 kit before I’d even started it. I found Opera Lavendar. It was nowhere near the same color but it was complementary.

After that inauspicious start, things progressed pretty well. Here’s a photo of the skirt after I’d finished crocheting it:

In this photo, Lady Paradise is having her first fitting. No, she’s not wearing a blindfold because she’s into kinky bondage. I have her head wrapped up in scrunchies because her hair gets in the way.

Now I have to do a lot of sewing to finish up. There’s an underskirt plus sleeves and bows and loops of beads that need to be sewn on and together and then the doll gets sewn into the dress. The dress is coming out a little tight on her so I may need some kind of gusset up the back as well.

Paisley dress & cape


The dress looks OK from the front but it doesn’t close right in the back. This particular envelope of patterns calls for “facings” all the time – pieces that are supposed to be folded over and back and sewn in so many ways that I can’t figure out what they’re doing. I came out with more folded over than I should have, I guess, because it takes all my muscle to close the dress barely enough for the Velcro to catch. It certainly doesn’t overlap smoothly.


This was the first time I’ve ever had to match a fabric pattern. Call it beginner’s luck, but it came out perfect. Indeed, it was beginner’s luck because the instructions didn’t offer any suggestions. I sort of guessed where the pieces would line up and tried to cut that way but it came out better than I deserved. I had trouble with the facings on this one too. The tie is attached with snaps. I have this thing called a Snap Setter that I bought for a huge project where I had to put in about 500 snaps. It’s pure genius. No sewing – only hammering.

More Headwear for the Family Hats


Here’s a cute hat for a little boy, in shades of blue and green. Bright and fun! Wish I were better at making pom poms. I can never get them completely round. But then I try to remember that no one besides me is staring at it so hard.


This is a hood with a scarf attached for a woman, made out of the leftover yarn from my friend Sheila’s afghan.


This is supposed to be a frog’s head, for a little boy. It really smeared the makeup on my mannequin head. I should get a child sized one but I don’t know if they make them. Children don’t usually wear wigs.


The pattern didn’t call for two colors but I ran out of the blue yarn. You can see what colors I was using up, can’t you?