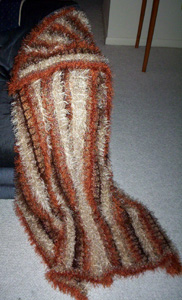
From the Fur, Fur & More Fur! leaflet. I call it the caterpillar blanket because that’s what everyone who sees it says: “It looks like a caterpillar.” I think it’s gorgeous but it’s clearly not for everyone. I’m just not so sure who it’s for yet. When I saw the pattern I knew I had to make it but I’m not really an earth tone person myself and considering the number of crafty people in my family (me included) we all (and me especially) have all the afghans we really need.
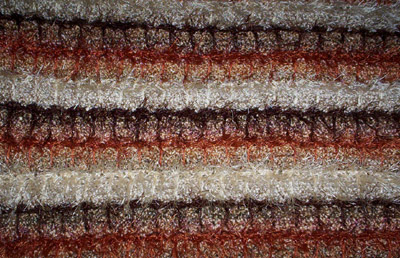
Here’s a closeup of the texture. It’s made from Fun Fur and Homespun yarns, so it’s soft and lightweight and furry but warm too.
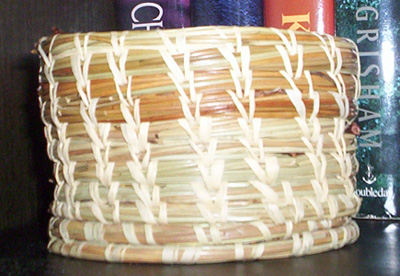
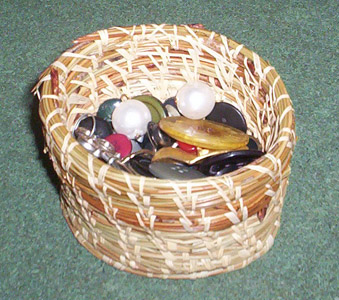
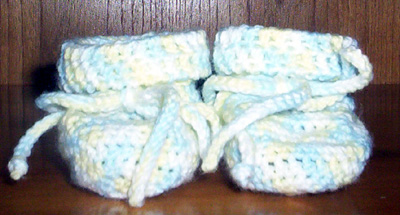
Remember in high school how “basket weaving” meant a gimme class? Maybe we should have tried it. I think basket weaving requires more hands than I have. This was made from a kit. I got better at it as I went around but you can see that my shaping efforts fall somewhat short or perfect symmetry. You need one hand for the sewing needle, one hand to hold the bunch of pine needles you’re weaving in, and the other hand to help shape the basket.
I’m using this to hold spare buttons. Isn’t it purty? My grandmother has given me a book of advanced patterns and I might try another basket if I can find a good source for the supplies.
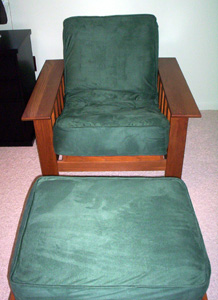
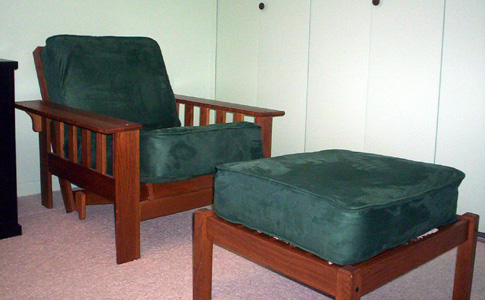
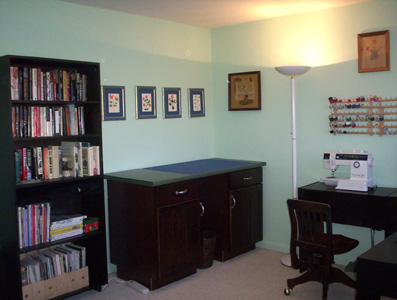
I’ve been slowly making my spare bedroom over into a sewing room, replacing furniture pieces with more functional (and more attractive) ones. I needed to keep the futon chair and ottoman which turn into a single bed for when my grandmother comes to visit, so I made new covers for them to match the new room better.
The fabric is a microsuede I got super, duper cheap at Jo-Anns because it was on the clearance rack plus I had a 40% off coupon. The covers are a little sloppy because futon mattresses are a little sloppy, so perhaps trying for a tailored look with piping wasn’t the way to go, but I love it anyway. The first time I made my own piping I was intimidated but I’ve come to think of piping as one of the easiest and most rewarding things you can do in sewing. It’s really almost foolproof and I love the professional looking results.
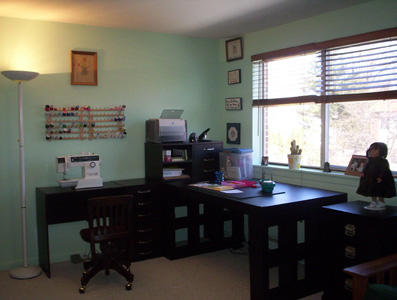
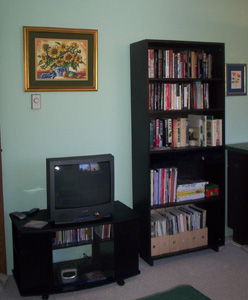
Here’s the finished sewing room: I have a comfortable chair and footrest, filing cabinet, huge desk/work surface with room for my printer, sewing table, cutting table, bookshelf full of crafty books, TV and CD player. What more could a sewing room need? I might get some new lamps, but other than it’s done!
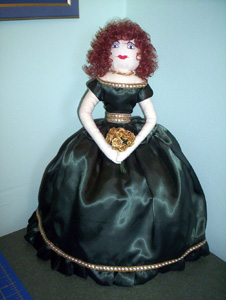
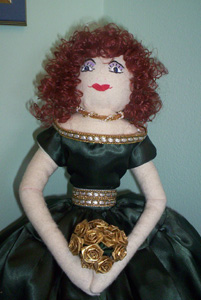
I’ve been working on this doll for a while because there are so many pieces to it – first the doll, then her underclothes and then her outerwear. She was made from Make Your Own Southern Belle Cloth Doll and Her Wardrobe. I’m not crazy about the book. The clothes don’t fit very well, mostly because shortcuts were employed. For instance, the difference between the fullness of her skirt and her tiny waist is accomodated via a drawstring, which creates a lot of bunchiness around the waist. That’s why I made the belt which wasn’t part of the pattern.
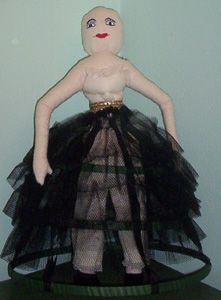
This photo shows under underclothes – bloomers, a hoop skirt, crinoline, and what the book calls a “bust improver” (kind of like a bra padded with falsies). She also has shoes made of felt. As you can see, she’s bald at this point.
The face is a combination of paint and embroidery. I made her necklace by twining three different cords from my stash together. It matches the trim on her dress very nicely. The flowers were bought. This was my first experience working with curly hair and it was pretty tricky. It’s so tangled together in the package. I didn’t try to make much of a hair style, being happy just to get it stuck on her head at all.
Now that she’s done, I have no idea what I’m going to do with her.
It’s hard to get the colors exactly right in a photo but I think this is the prettiest baby blanket I’ve made yet. I love the fresh new colors they have for babies these days, not just the tired pastels. The pattern is worked diagonally in squares. I was supposed to be able to carry the color I wasn’t using but couldn’t hide it well enough so I ended up carrying only the white and cutting green. That meant a few ends to weave in but it was worth it.
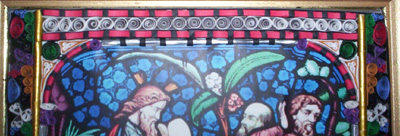
Becky from the Quillers group had a wonderful idea to quill a stained glass window. I thought my mother would like such a thing, so I searched the net for a photo of a stained glass window I liked and came up with Moses returns from Mount Sinai (1863). I printed the photo to a nice color printer and then quilled on top of it. I only quilled the framing around the figures because I decided that I didn’t have the skill to try to do more subtle things like the faces and gowns, but since the window had a natural frame it worked out very well.
I mounted the finished product on foam board and then mounted that on the front (top) of the frame rather than inside it so that the quilling really stands out. Inside the framing that I quilled, you can see the original printed photo.
I did some 3-D work at the bottom to make the circles jump out.
The gold and silver “pillars” are made by wrapping quilling paper around bamboo sticks cut to size.