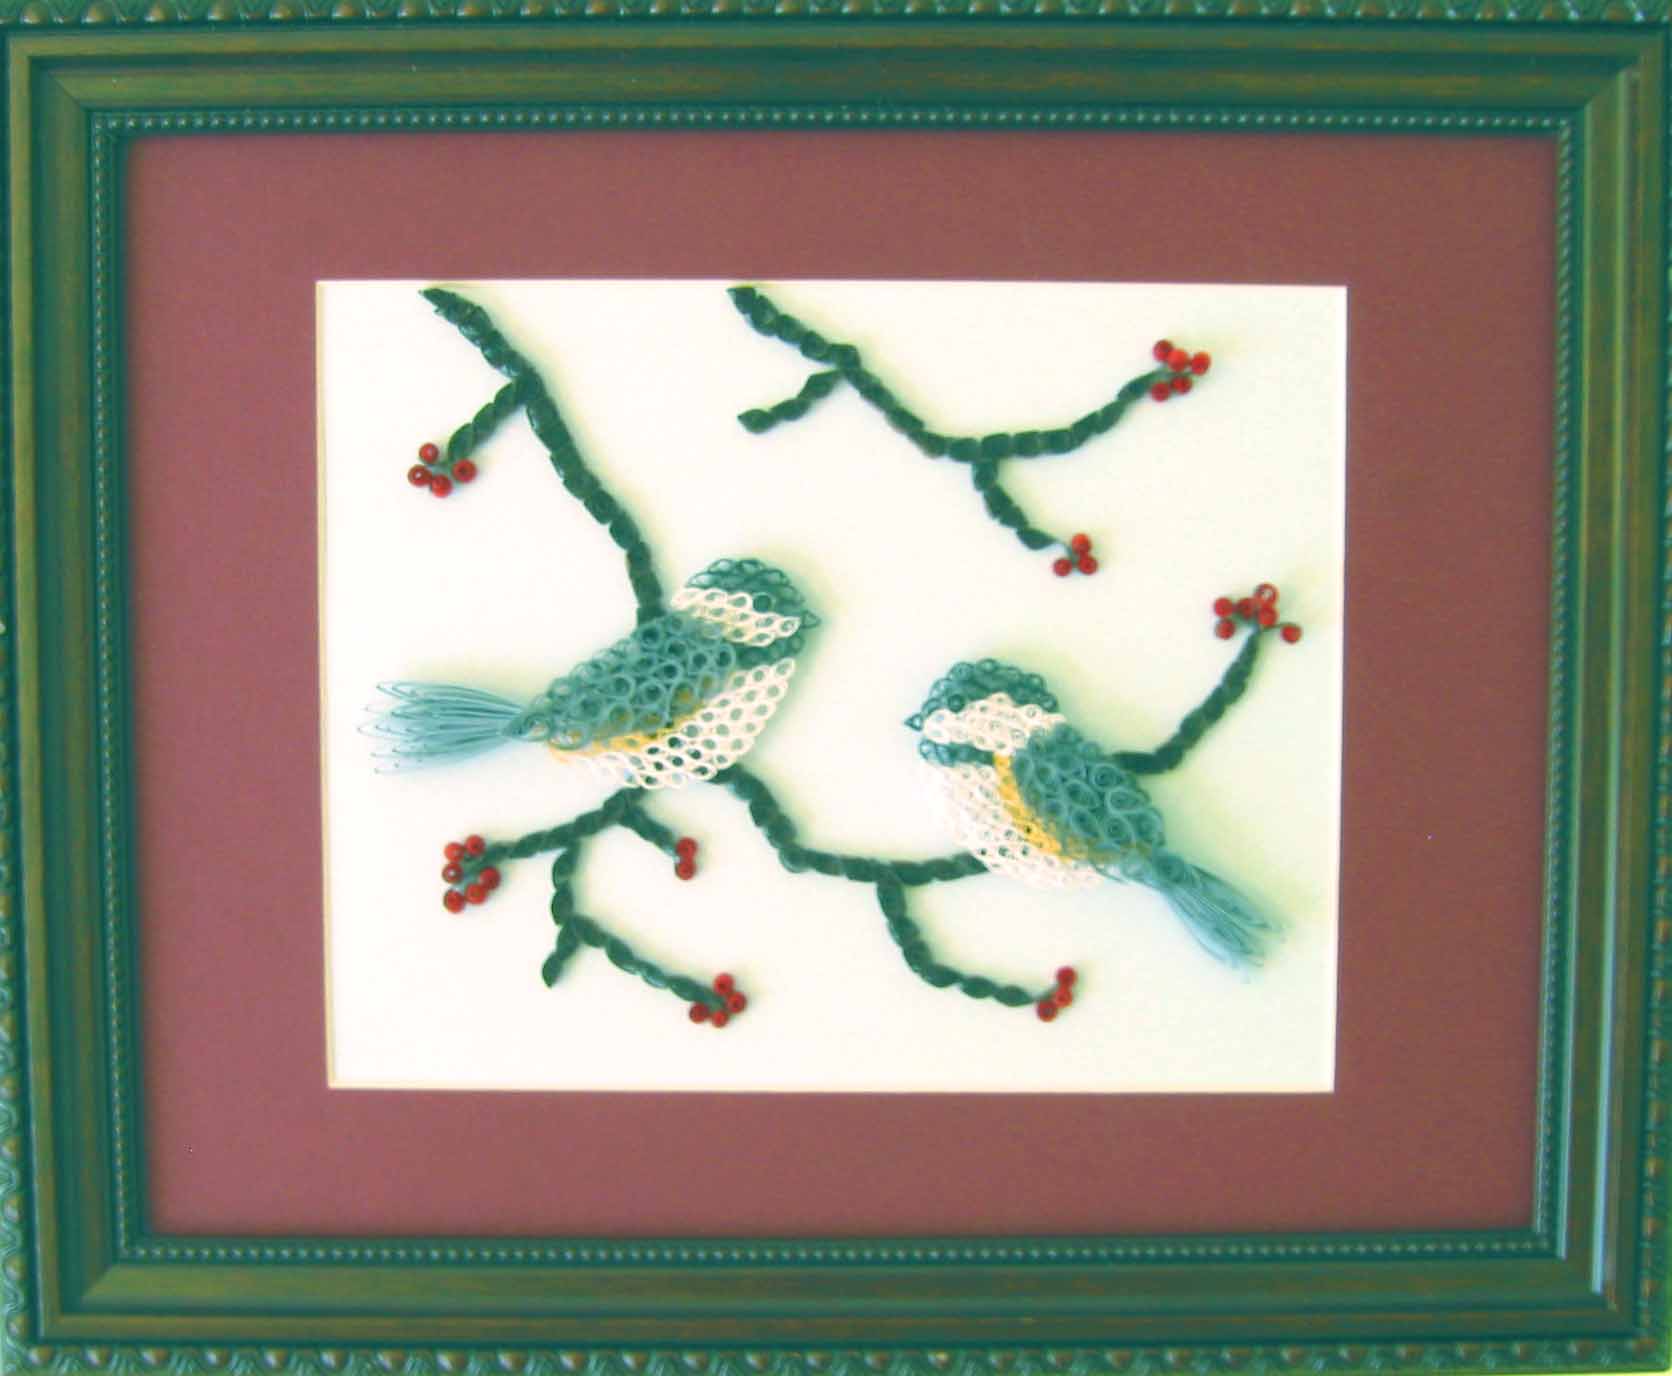
I’ve always used a slotted quilling tool but the quills were so small in the birds that I was really unhappy with how they were coming out so I tried using the needle tool for the first time. It was very slow and painful at first but I got a lot better at it by the end and the results are worth it. It’s hard to see in the photo but the bird on the left was quilled using the slotted tool and the one on the right with the needle tool. If you look closely you can see the more obvious holes in the one on the left, especially in the white area.
I decided to try foam instead of stuffing and look how much better it is! The only problem with foam is that it’s very exact, so you can see where either my sewing or my foam cutting wasn’t so dead-on square. But overall it’s way better and comfier too. I don’t know what that book was talking about when it recommended stuffing.
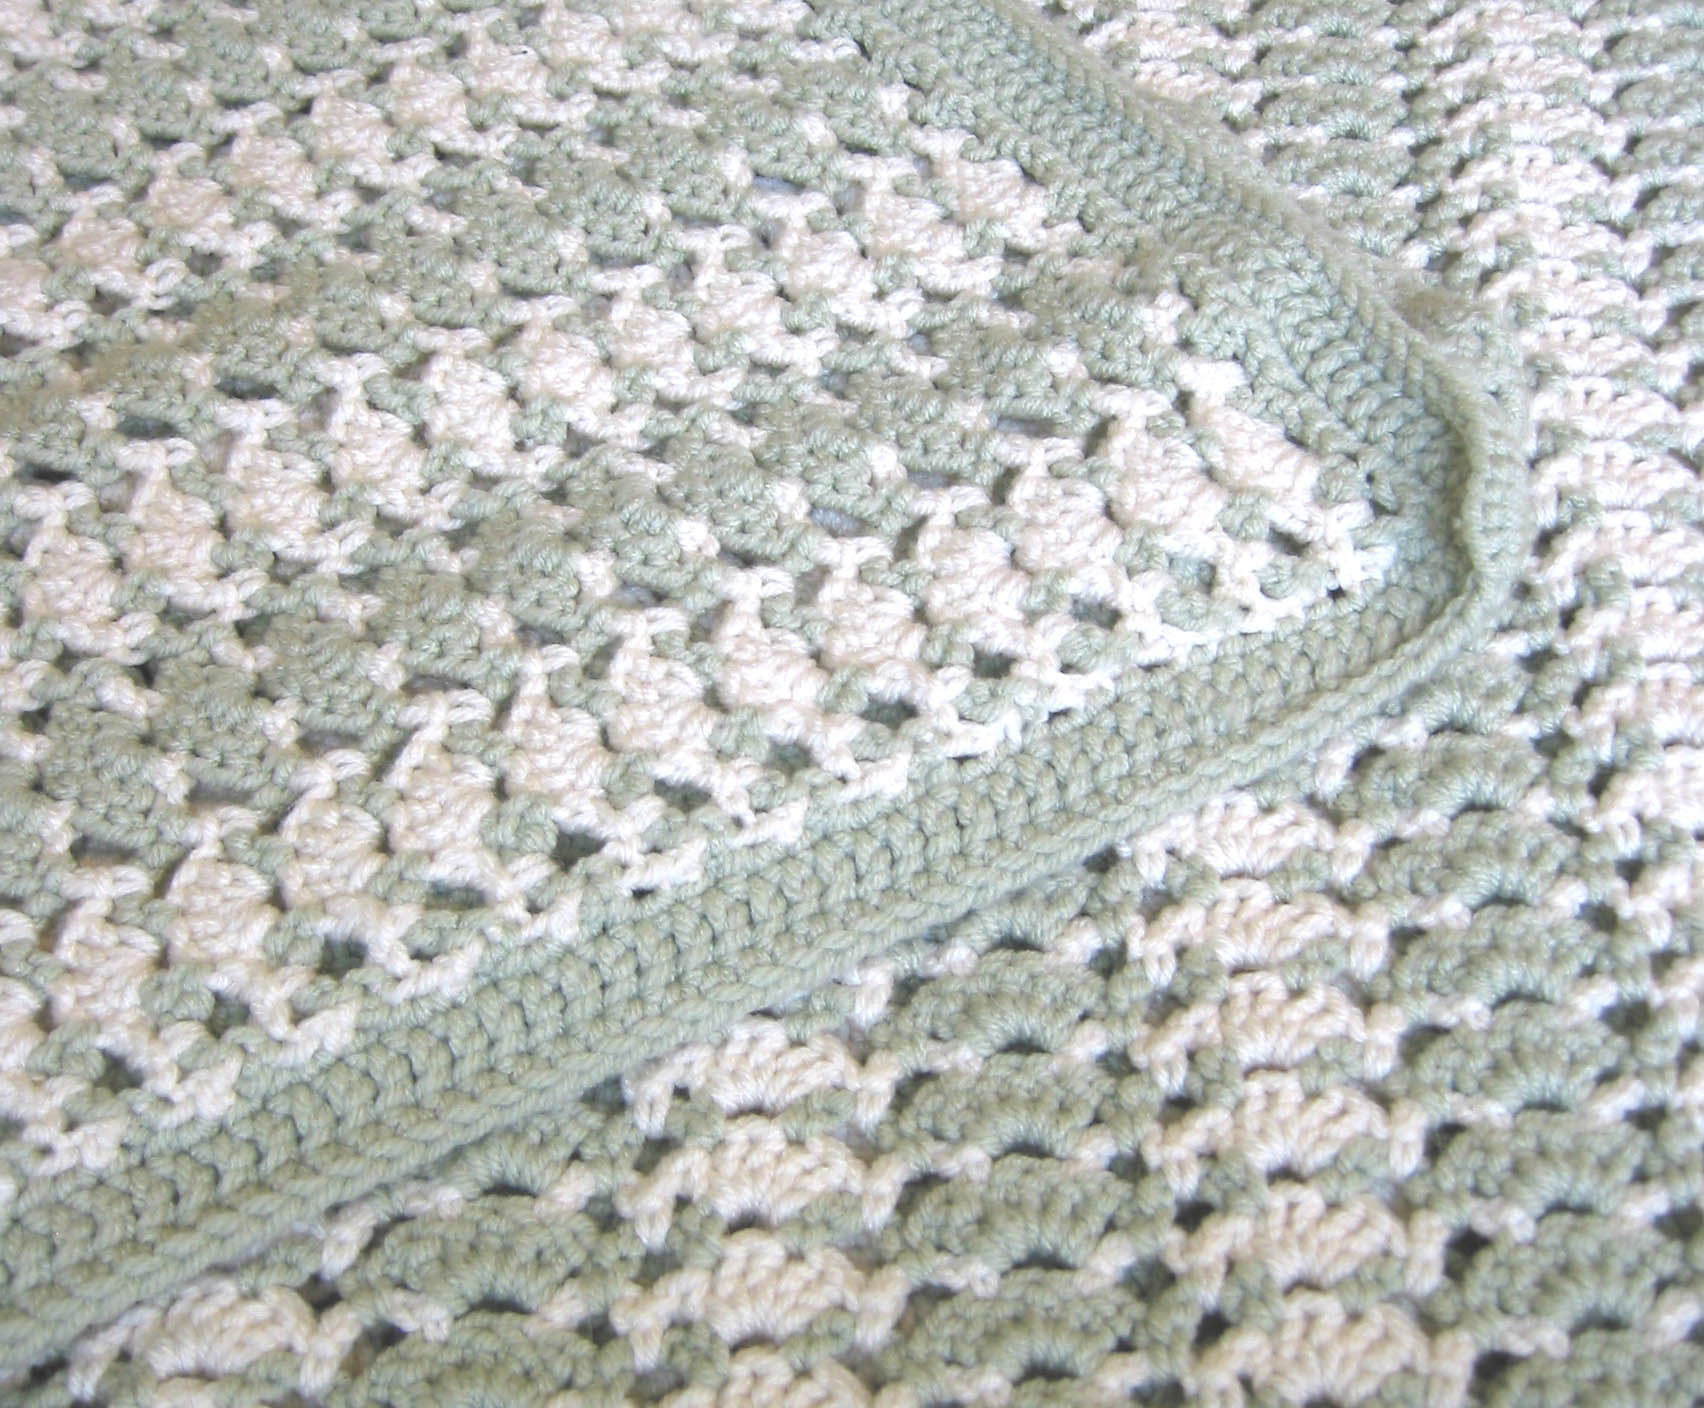
Two more scarves from the Special Stitches pattern book. The top one came out especially nice. I had to modify the border for the bottom one because I was running out of yarn and it made me realize I don’t think I’ve done a single one of these exactly the way the book said. Usually I just change the border but in some cases I’ve changed the number of colors or eliminated pieces I didn’t like.
That’s a nice thing about crochet is that it lends itself to on-the-fly modifications really easily. I remember when I could first read a pattern and get an idea of what each step in the instructions was going to make happen. It was after I’d done some thread crochet Christmas ornaments – very complicated and intricate. Getting those right taught me a lot.
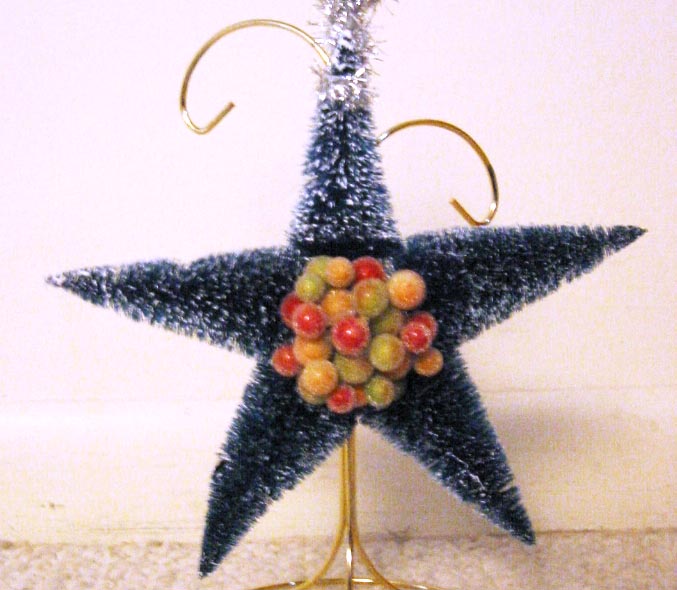
I got this idea out of a book. Hideous isn’t it? It’s huge for one thing. So I went back and looked and it’s meant to be a tree topper, not an ornament. But that only makes it slightly less hideous. I don’t have a good tree topper but it’s not going to be this one either. I’ll make something some day.
So why did I make this thing if I think it’s hideous? Here’s how it happened. When I got all the books in the post-Christmas sale I flipped through them noting that I didn’t have the supplies to make any given project in the book. I needed cookie cutters or stone molds or gold leafing or . . . . So I went to the post-Christmas sales at various craft stores and as I saw things that had been on the materials lists I picked them up. I guess I saw the bottle brush trees and remembered seeing them in the book.
On Sunday I was working on my latest quilled project but I wanted to take a break so I pulled out the books to see what I could make and determined that I almost had enough supplies to make the bottle brush tree thingy. I went out and bought what else I needed and on Monday I made it. Only then did I really look at the picture and notice that it was hideous – not just my version, the version in the book too.
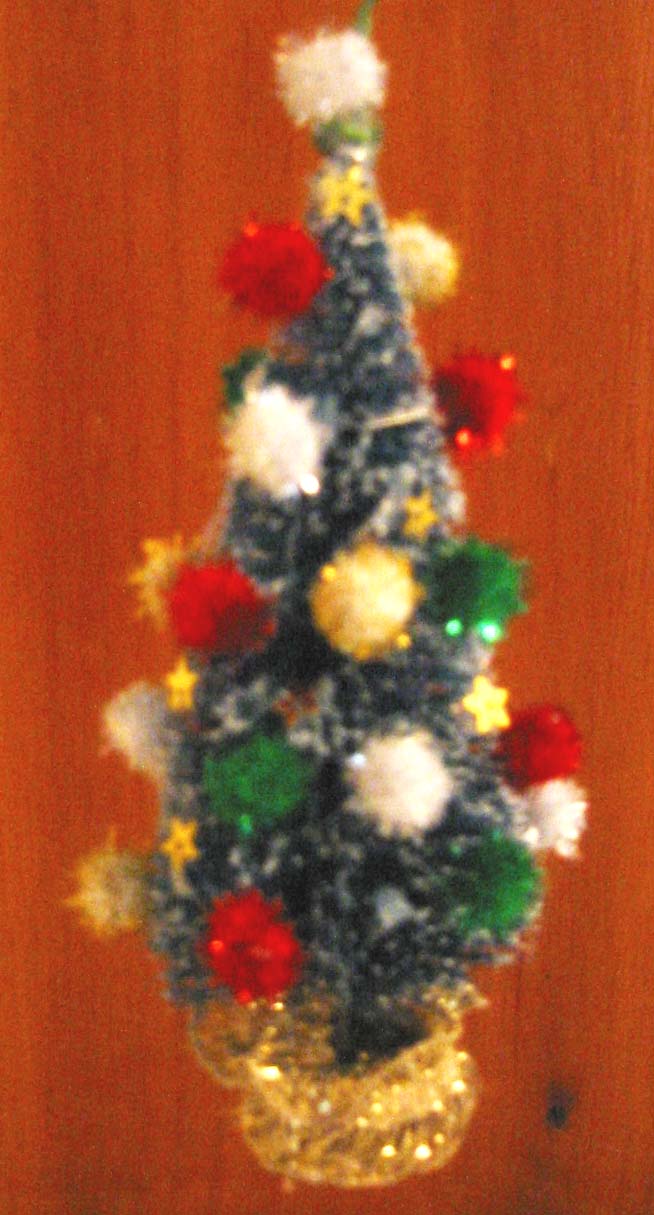
Then I took the leftover bottle brush tree and glued some glittery pom-poms and gold stars and ribbon to it and made this:
The third afghan I made from A Year of Afghans, Book 5. This one was for Todd’s bedroom, so he got to pick the pattern and the yarn. We bought samples of a couple of different kinds of yarn and I made swatches. Once he decided on this one we went back to get enough to finish the afghan only to find out . . . there wasn’t enough! Apparently this color (Fiesta Jewel) was in the process of being discontinued. There followed trips to every craft store within striking distance of either his house or mine and we finally gathered up enough skeins of yarn (plus a few extra as it turned out) only to run into problem number two: it was dye-lotted. Now Red Heart yarn is normally not dye-lotted so I didn’t even think about it but I guess their variegated yarns are. It became obvious when we put all our skeins from all the different stores next to each other that they didn’t match.
It turned out OK, as you can see. I used the closest matches and the fact that this afghan is made with two strands helped blend any minor differences in. But then I started using the leftover yarn to make scarves and such and I keep having to remember to use close matches or stick to projects that only need one skein because in a flat single strand pattern it can sure be obvious where I switched skeins.
Problem number three was that something about this pattern hurt my fingers. I was really glad to get this one done.
I should have been an invalid in the 1800s. I’m crazy for having a lap robe on at all times. It’s like I can’t really be comfortable without my shoes off and a blanket on my lap. So any room I spend a lot of time in ends up with an afghan. This one was for my room at Todd’s house. The only thing I don’t like about it is that the open weave keeps it from being as warm as I might like sometimes.
This is another pattern from A Year of Afghans Book 5. Actually, it was the first one I made from that book. I made this from Red Heart’s TLC yarn. I generally stick to plain old Red Heart – the really cheap stuff – but I wanted this afghan to be softer, which it is. Maybe someday I’ll have enough faith in my work to spend the money on some really nice yarn.
I made these for Todd’s home office by picking and choosing patterns and information from my four sewing books referenced below (looking for the simplest method, of course). Todd picked out the fabric himself using a Jo-Ann’s 50% off coupon He wanted drapes originally (with the pull cords to swish back and forth) but it’s a narrowish window with very little stacking room on one side so I couldn’t see the point. Instead I used a deep rod pocket design.
I attached the lining using the “sack” method where you sew right sides together on the two side seams but the lining isn’t as wide as the fabric, so when you turn it right side out and press you get the look of having carefully handsewn the fabric over the lining without all the handsewing. I did handsew the fold over at the top for the rod pocket but I machine sewed the hem. Unfortunately because of the stripes I couldn’t really match the thread to the fabric and the hem shows. OK, the hem shows if you get down on your knees and look for it, but still. I have to learn how to do blind hems on the machine next.
I barely had enough fabric left to make the tiebacks but I think they came out nicely. Now we’re waiting for another 50% off coupon so he can buy fabric for the next set of windows which I think will be for the kitchen.
My first zipper! My first time making my own piping too. It came out pretty good except that one of my sewing books recommended using a stuffed cushion as more comfortable than foam. So inside the cushion is a muslin cushion I made that is stuffed with fiberfill. I don’t know. The fiberfill is kind of bunchy – I guess I didn’t fluff it enough – and the cushion doesn’t have a sharp shape, so the outside cushion doesn’t have a very sharp shape either, although the piping helps somewhat. I may go buy foam and swap it out, which I can do since I made it with a zipper. 🙂
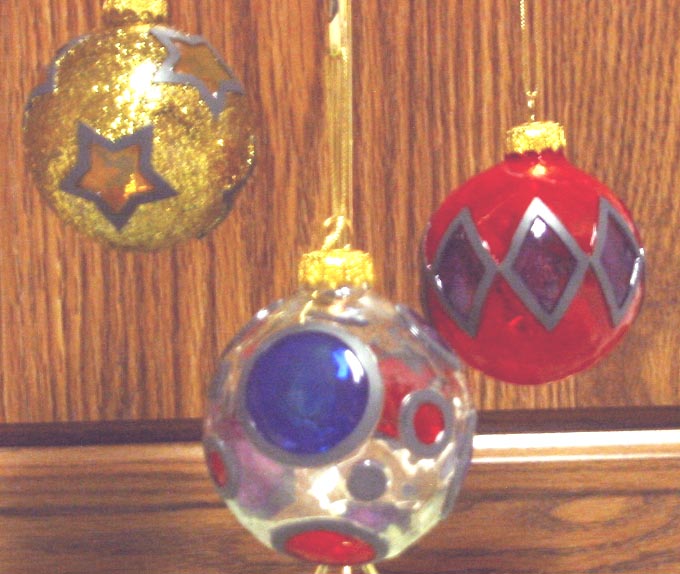
These were done using a special kind of paint that creates a stained glass effect. As with the gold leafing, learning on a spherical fragile object may not be the best plan. I also learned that it was worth it to spend a little extra on the supplies. For my first attempt I used a boxed kit that had tiny samples of a lot of different colors in little pots like the cheap paints made for kids come in. The results were very blotchy and irregular. It was hard to apply the paint from the pots and I think the quality of the paint just wasn’t that good. I was also trying to create my own design from lines and liquid leading (drawing the lines on by hand using a kind of paint). I’m no artist.
So the first one was butt-ugly and got thrown away. For my next attempts, which you see here, I bought individual squeeze containers of paint – much easier to apply uniformly. I also got some of the shaped leading lines they sell. I got stars, diamonds, and circles and used them all as you can see. I still have something to learn about getting a really even coat with no bubbles but the results were significantly better. I especially like the one with the stars.
I made this for Todd. We bought the bolster at Wal-Mart and then he picked out this fabric he liked (not my idea, believe me!). I traced the bolster and faked up a pattern using an overlap rather than a zipper or seam to close the back. It came out OK except I didn’t allow enough overlap so it gaps a little. He never uses it though so it’s just another thing on the floor in his bedroom.